ACCESSORIES
All our JeepUniq Combo Mounts are modular and accept additional Vertical Rails to fit whatever new HAM or SATCOM device you might acquire.
All our JeepUniq Combo Mounts are modular and accept additional Vertical Rails to fit whatever new HAM or SATCOM device you might acquire.
Shop by Vehicle
The Jeep Gladiator and the Jeep JL share the same grab bars, so the JL mounts will work on both.
Due to the JK's interior redesign in 2010, we had to split the JK in pre and post redesign models.
For other Jeep models and years, as well as other vehicle brands, such as Toyotas or Land Rovers, our 67 Designs or RAM Compatible ball mounts are a great solution.
Add description, images, menus and links to your mega menu
A column with no settings can be used as a spacer
Link to your collections, sales and even external links
Add up to five columns
Add description, images, menus and links to your mega menu
A column with no settings can be used as a spacer
Link to your collections, sales and even external links
Add up to five columns
Add description, images, menus and links to your mega menu
A column with no settings can be used as a spacer
Link to your collections, sales and even external links
Add up to five columns
Add description, images, menus and links to your mega menu
A column with no settings can be used as a spacer
Link to your collections, sales and even external links
Add up to five columns


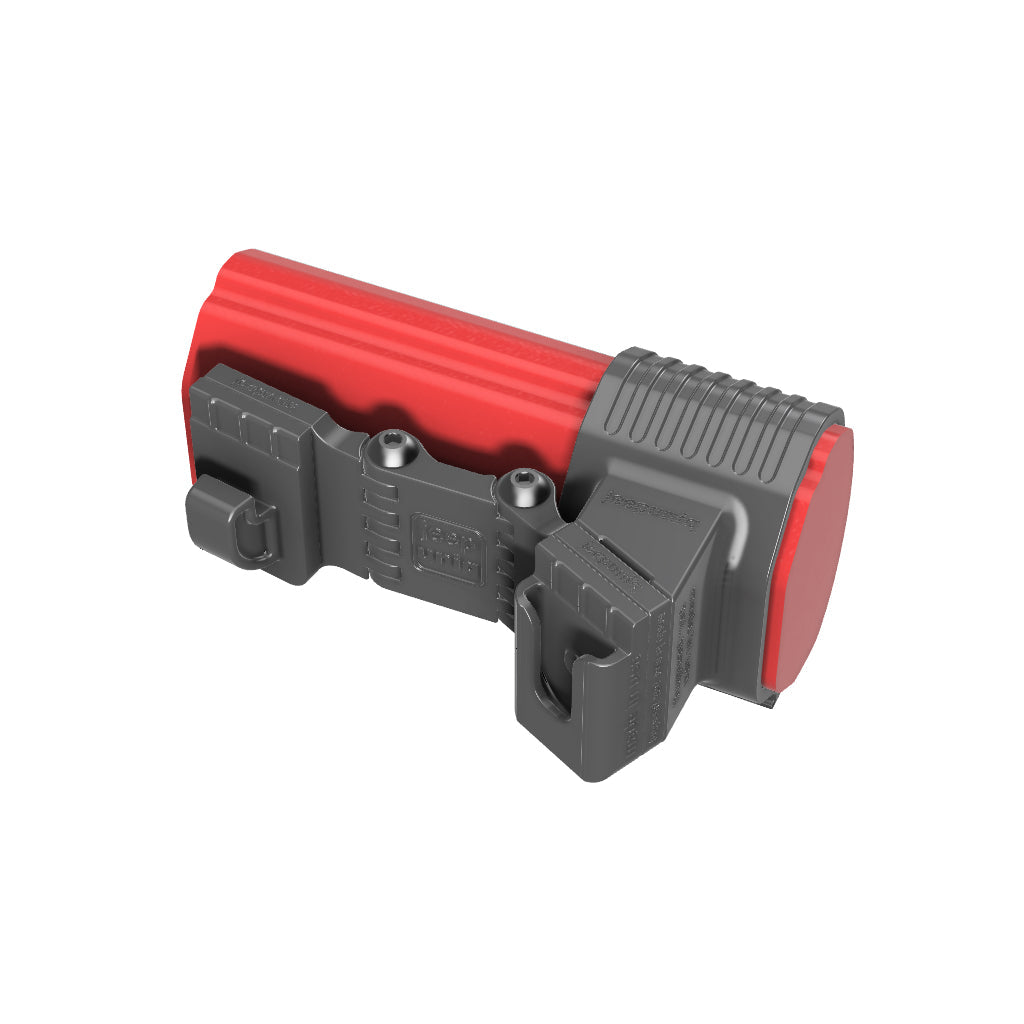
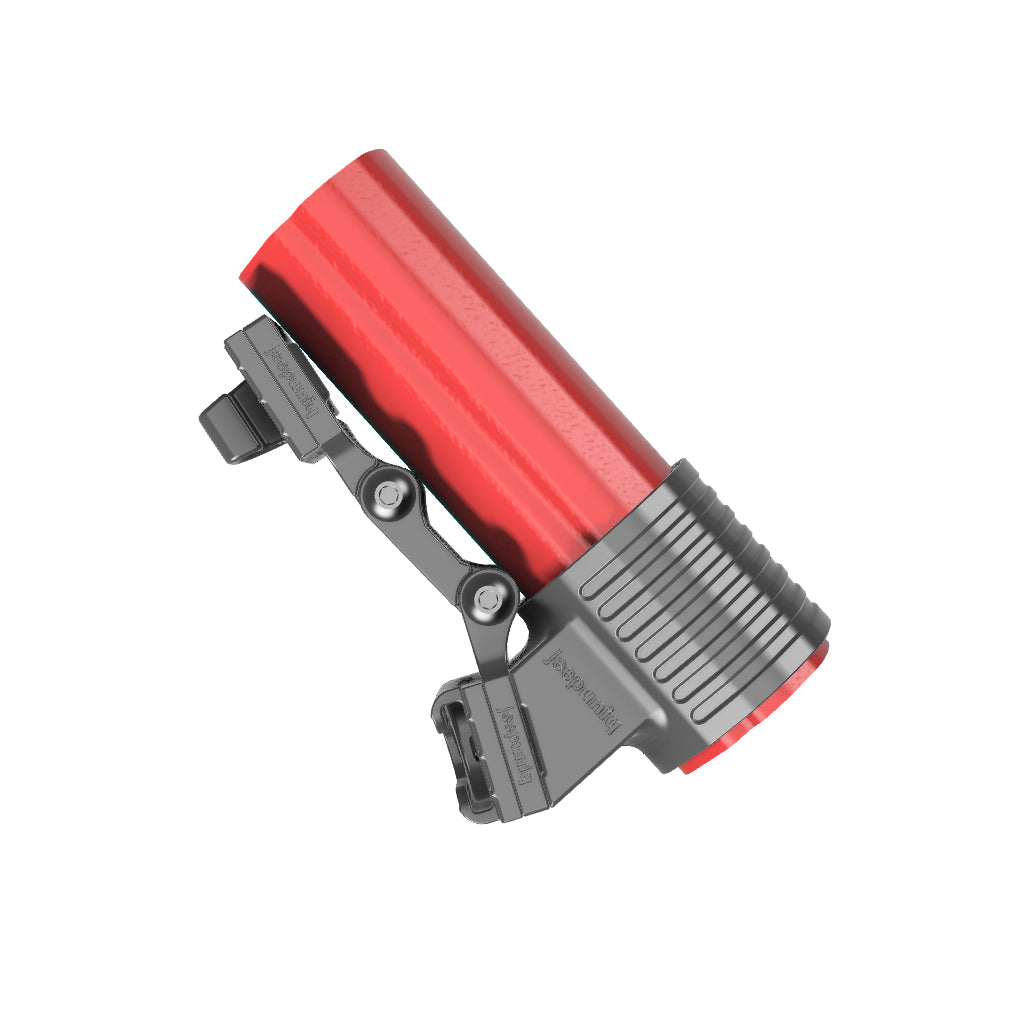
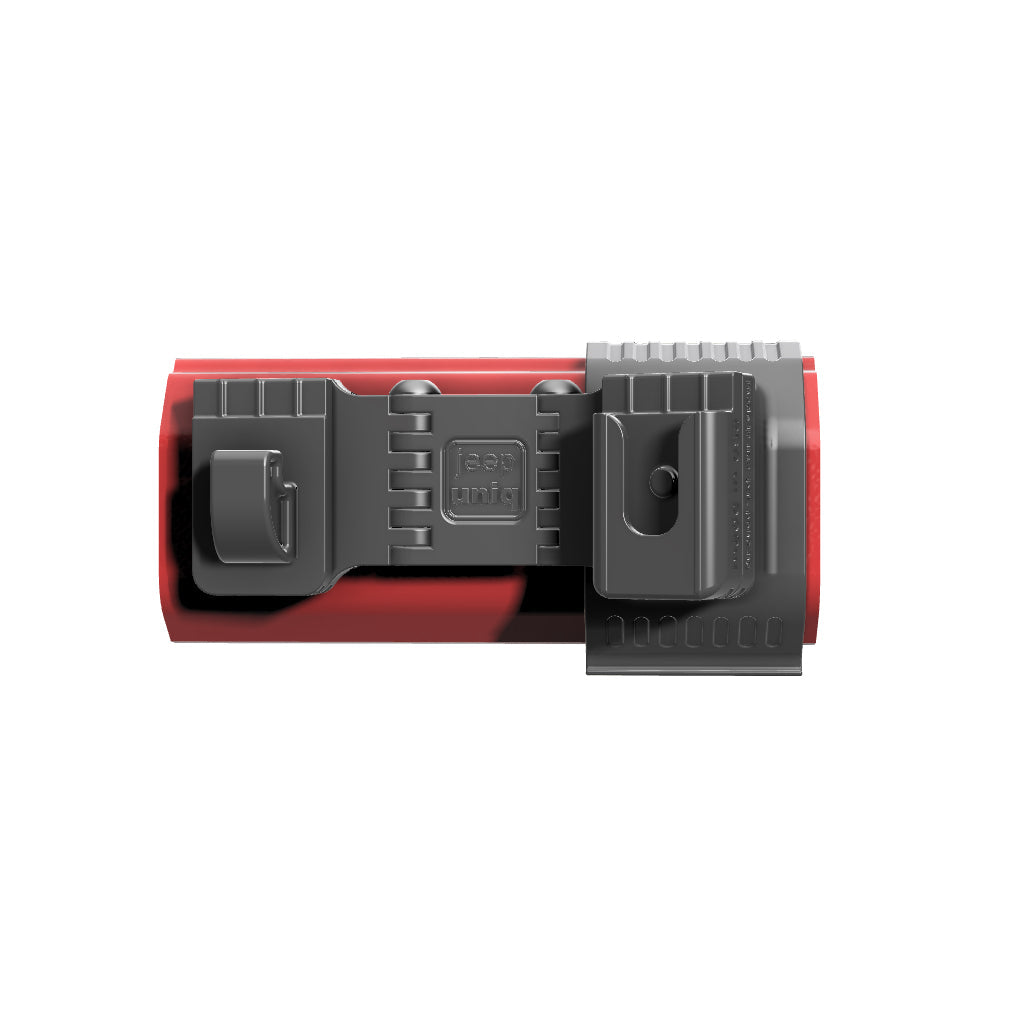
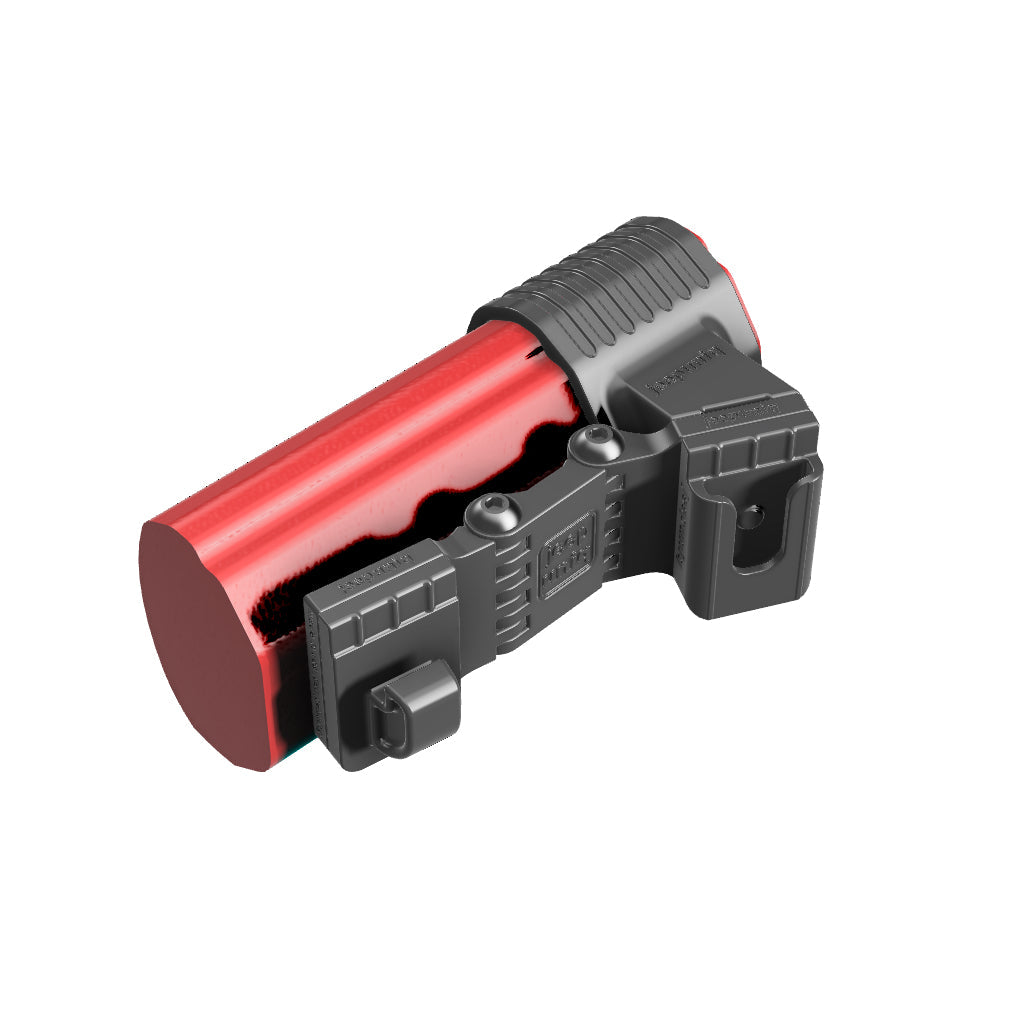
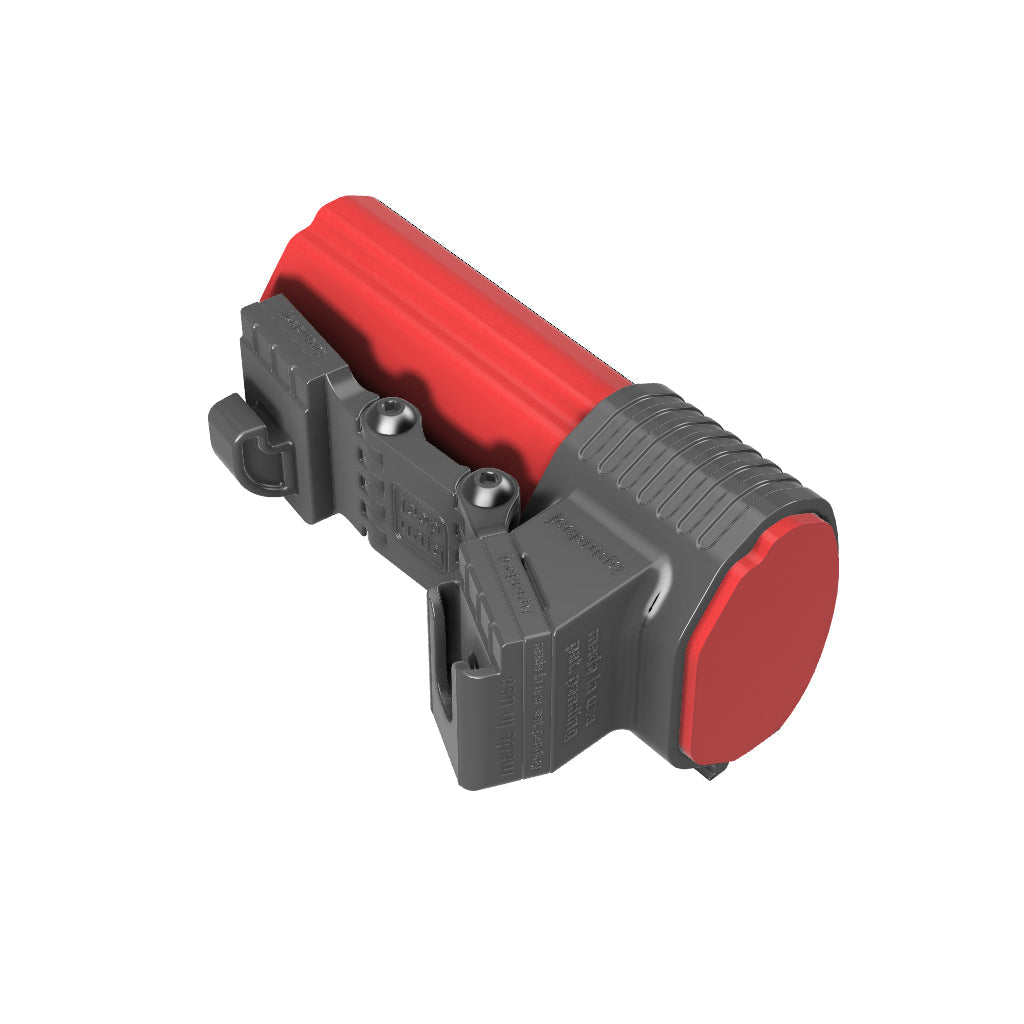
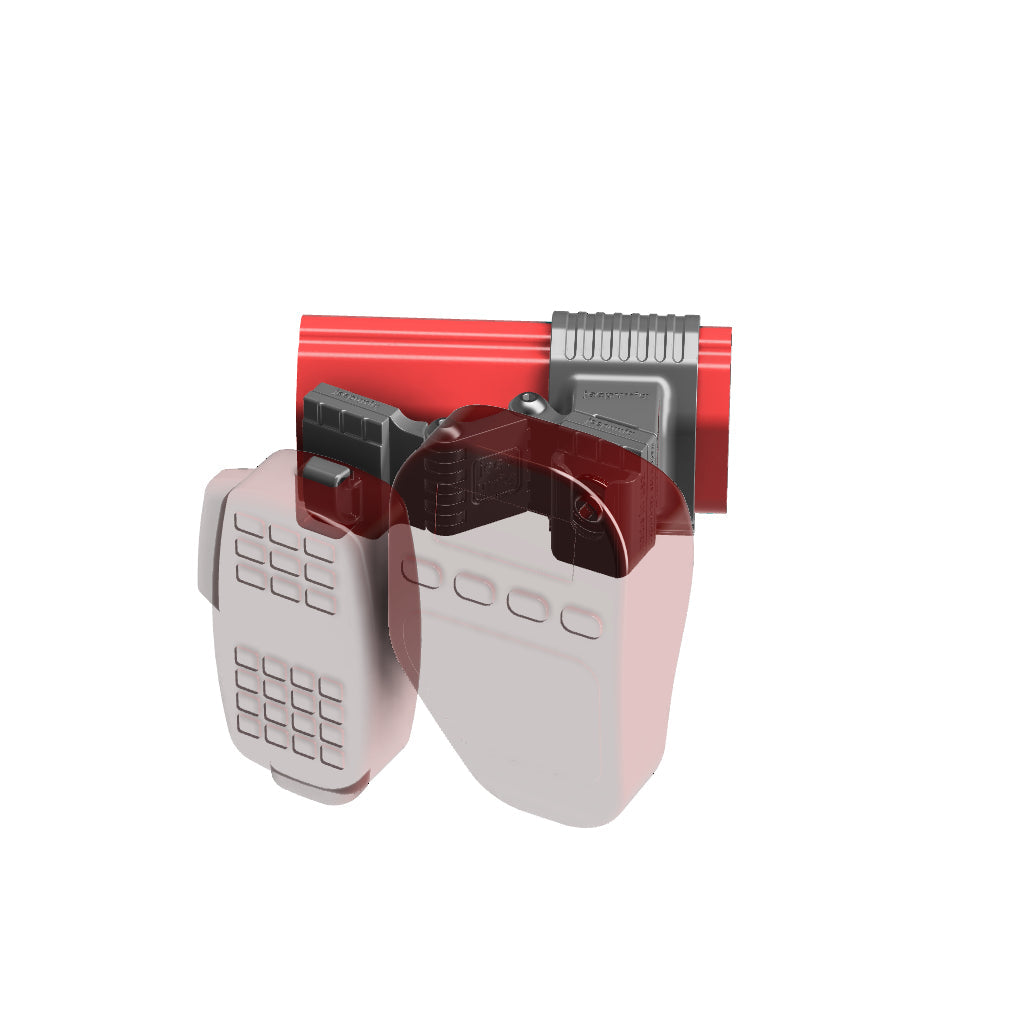
CY-A24JL-105440
Yaesu FT-1900 Mobile Mic + Icom ID-5100 Mobile Mic Mount for Jeep JL/JT 2024+ Grab-Bar
Yaesu FT-1900 Mobile Mic + Icom ID-5100 Mobile Mic Mount for Jeep JL/JT 2024+ Grab-Bar
The JeepUniq mounts not only enhance functionality but also elevate your overall off-roading or overlanding experience. Our mounts are more than just accessories; they are essential tools that provide peace of mind by securely holding your devices in place, whether you are on the road or off the beaten path.
Quality Materials For Durability: when it comes to materials, we prioritize quality and durability. Unlike cheap stamped tin materials that are prone to rust and scratching, our mounts are constructed using only automotive-grade engineered plastic. This material is not only resistant to UV rays and high temperatures but also built to withstand rugged use, ensuring that your mount remains reliable in any situation.
Ergonomic Design For Ease Of Use: our mounts are not only durable but also ergonomically designed for ease of use. Each mount undergoes rigorous testing to guarantee both durability and user-friendly functionality. Devices are kept within easy reach, and attaching or detaching them is a breeze. With built-in guides that facilitate one-hand operation, our mounts are designed for seamless and almost blind use, allowing you to focus on the journey ahead.
BENEFITS:
- Devices Angled: approx 25 degrees towards the driver.
- Custom Made: to fit the left side of the grab bar of a Jeep Wrangler JL or Gladiator JT 2024+.
- No Drilling: with no permanent modification to your Jeep. Installs quickly in 1 minutes or less.
- Easy To Reach: The radio can be inserted in and taken out in an instant while using just one hand.
- Durable: All our designs are rigorously and extensively real-life tested off-road.
- Safer: than other mounts on the market made of durable plastic - not tin.
- 🇺🇸 Made In The USA: by JeepUniq 🇺🇸, setting us apart from our competitors.
Side-by-Side Device Arrangement:
- Space Efficient: The mount is designed to hold your radio aside another device, saving space and ensuring a clean look.
- Ergonomic: Close to reaching yet out of your way. The device closer to the driver can be angled from 0 degrees up to 25 degrees.
- Expandable System: additional mounts for additional devices can be mounted on the same grab-bar, either in single or combo configuration.
- Cost Effective: This is a cost-effective solution for mounting two devices on the same mount base without the need for additional hardware.
MOUNT POINT 1:
Round Button Hanger Microphone
- Universal Design: Our mount supports virtually all microphones that have a round button hanger commonly found in mobile, vehicle mounted, and base station radios.
- Secure Yet Easy To Use: a special design keeps the mic secure.
MOUNT POINT 2:
ICOM Microphone
- Custom Design: with a special hook for the rectangular hole specific to ICOM Mics.
- Secure Yet Easy To Use: a special design keeps the mic secure.
Compatibility Notes:
This mount works for both Left (US/EU) and Right Hand Drive (UK/AU) configurations.
Make sure your microphone has a round button hanger for compatibility with this mount.

Round Button Hanger Mic
This mount is only compatible with ICOM microphones that have a rectangular hole for the hanger.

ICOM Square Hole Hanger Mic
IMPORTANT NOTES FOR CUSTOMERS:
BEFORE PURCHASING AND USING JEEPUNIQ MOUNTS, IT IS CRUCIAL TO TAKE NOTE OF THE FOLLOWING IMPORTANT GUIDELINES:
- Off-Road Use Only: Our products are intended for off-road use only. They are not suitable for on-road applications.
- Compatibility: JeepUniq mounts are designed for light accessories as specified in the Compatibility notes. Do not overload the mounts with accessories not listed as supported by JeepUniq.
- Modification: Do not modify the mounts in any way. Any alterations may compromise the safety and functionality of the product..
- Legal Compliance: It is important to obey all local state and federal laws when using JeepUniq mounts. Ensure that you are compliant with all regulations before hitting the trails.
- Safety Responsibility: The vehicle owner is responsible for ensuring that the mounts do not obstruct or interfere with the proper deployment of airbags in case of an emergency.
- Product Updates: At JeepUniq, we are dedicated to continuous improvement. Please note that the actual product design may vary from the images shown on our website as we update and enhance our products regularly.
JeepUniq takes safety seriously and is committed to providing customers with reliable and durable mounts for their off-road adventures. However, it is essential to understand that improper or illegal use of our accessories is not endorsed or supported by JeepUniq. Customers are advised to use our products responsibly and in accordance with the provided guidelines to ensure their safety and the longevity of the mounts.
Bolts in the mount are torqued from the factory avoid over-torquing to prevent damage.
How To Attach Your ICOM Mic To The Mount:
Hold The Mic Horizontally: Start by holding the mic horizontally and aligning its hole with the hook's tip on the mount.
Lower The Mic: Carefully lower the mic into the hook, ensuring that it is properly aligned with the top of the hook.
Rotate The Mic: Swivle the mic 90 degrees so that the hook enters the mic's hole, ultimately positioning the mic vertically for optimal functionality.
We understand that initial attempts at attaching the mic may feel a bit tight. However, rest assured that our mounts are designed to provide a secure fit, and the plastic material will give after a few inserts, ensuring a snug and reliable hold for your microphone.
Why so many similar looking mounts?
We understand the frustration of products looking similar but having different SKUs and titles.
One of the key aspects that sets JeepUniq mounts apart is our attention to detail. We understand that even the smallest differences in product dimensions can make a significant impact on the mounting experience. That's why our mounts come in various shapes and sizes, ensuring a perfect fit for your specific product.
Our supporting rails are meticulously designed to be taller, wider, or shaped differently, addressing the nuances that may not be apparent from the product pictures alone. This level of precision ensures that your product is securely mounted, enhancing both functionality and aesthetics.
Contact Us
We understand that choosing the right mount can sometimes be overwhelming, especially with the myriad of options available. If you ever find yourself in doubt or need assistance in selecting the ideal mount for your product, please don't hesitate to reach out to us.
See our Support Library for more answers and useful articles
Installation Notes:
Tools Required: A piece of paper.
- Slide the piece of paper between the mount and the grab bar to protect the grab bar from any minor scratching.
- Using both hands, open the mount such that it can slide over the grab bar. Do not spread the mount more that strictly necessary!!!
- Slide the mount as close to the driver side as possible, without forcing it.
- Remove the piece of paper.
- Lock the mount in place by inserting the locking piece included with the mount.
- Adjust the Driver Side mount to the desired angle by loosening the hinge bolts and then retightening them back. Do not over-tighten the bolts!!!
If you need any help with the installation, please contact us via email or the chat widget on our website. We are always happy to help.
